PixieApp Publishing
The Publication Process
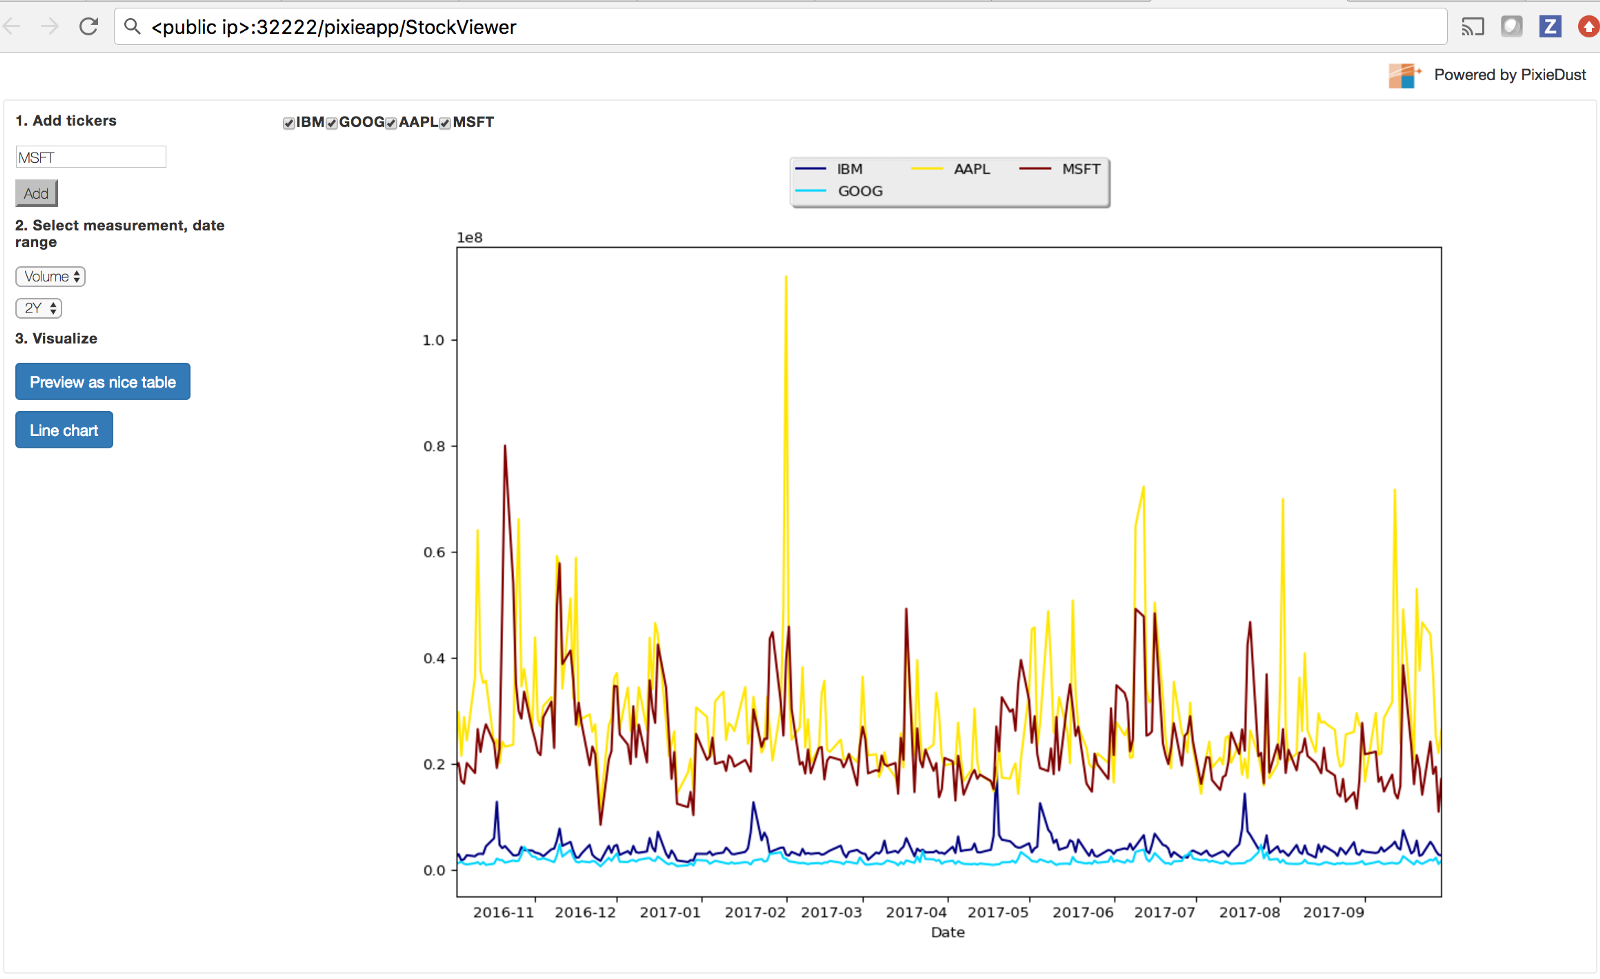
Once you have developed your PixieApp in a Jupyter Notebook, here’s how you can publish it to the web
Click on the publish icon (the electric plug icon 🔌 in the upper-right corner) to deploy the PixieApp into the PixieGateway.

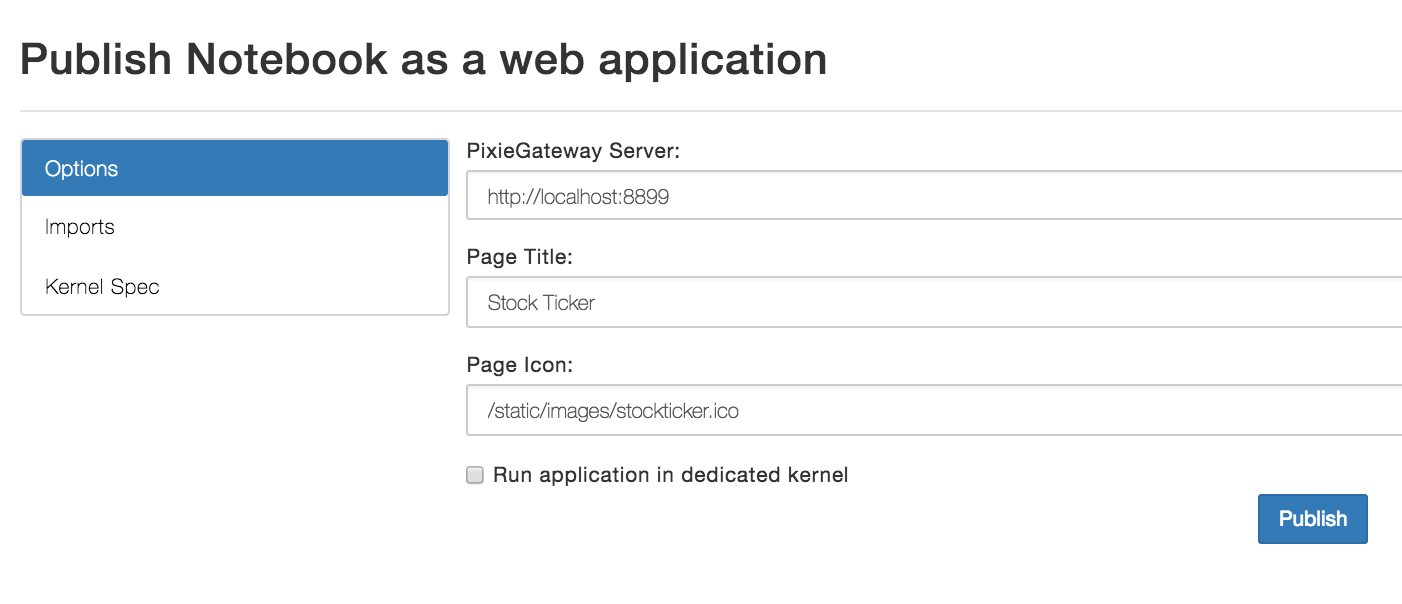
The Publish Configuration dialog contains the following panels:
- Basic configuration info, such as server address, page title, and page icon. The only required field is the PixieGateway server location. You can simply enter it, and click the Publish button.
- You can also view more details. The Imports pane contains a list of package dependencies (automatically detected by static code analysis).

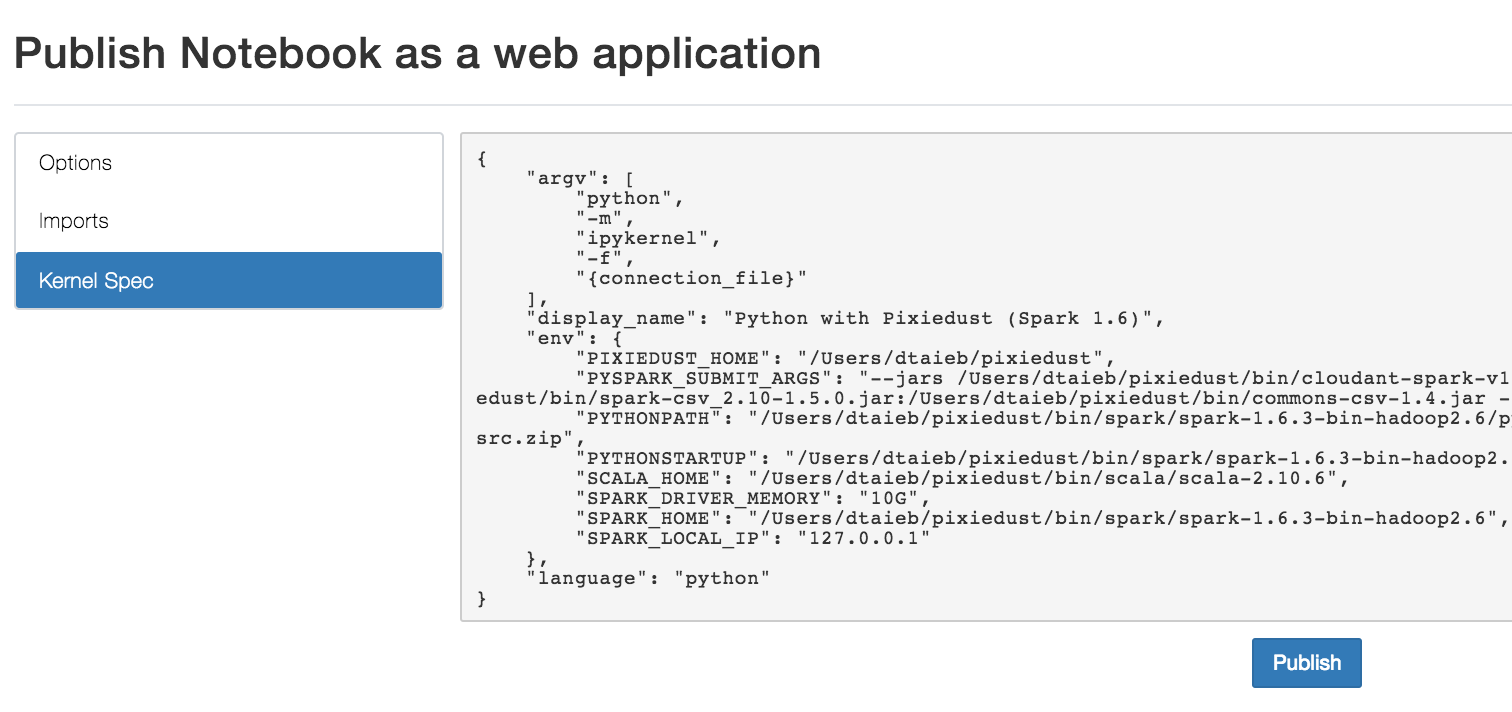
- And finally, you can view the Kernel Spec information.
If all goes well, you should see a dialog similar to the following:
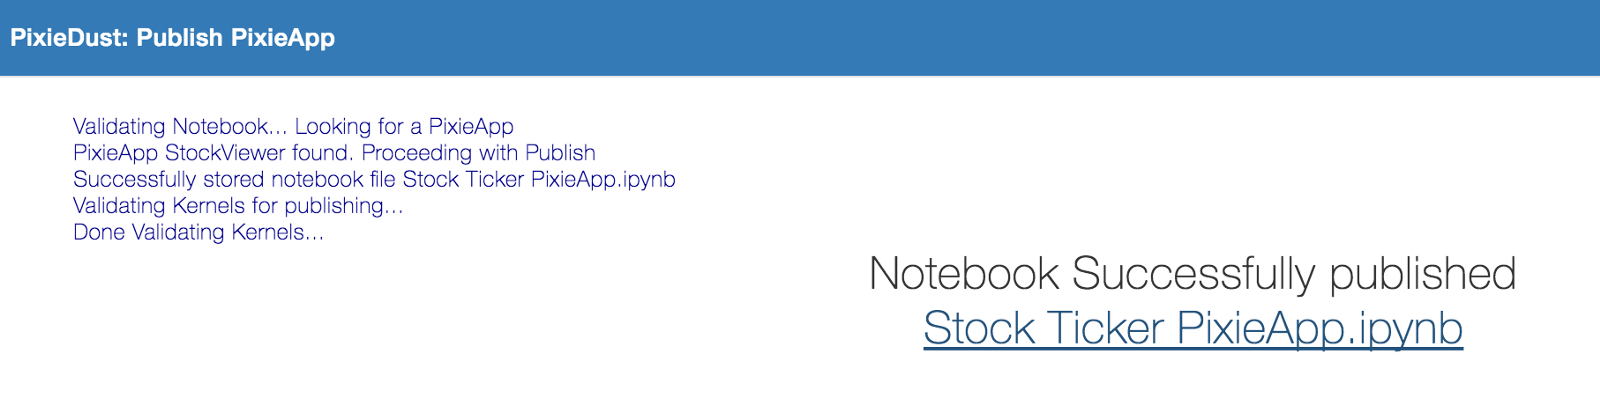
Click on the provided link and start using the PixieApp as a regular web application.